Before session 1
Do this at home, the week before the first session. Session 1 has about an hour of hands-on time, and none of it should go to installing tools. If something here fails and you cannot fix it, come to the session anyway and say so at the start.
1. What you receive
Section titled “1. What you receive”| Item | Example | Used for |
|---|---|---|
| Your team ID | t05 |
Kubernetes namespace, Datadog team tag |
| Your team hostname | <alias>.teams.epimarket.fr |
Your storefront and its public API |
| A GitLab invitation | gitlab.cri.epita.fr |
Your team’s repository and its CI/CD |
| A Datadog invitation | email from Datadog, site datadoghq.eu |
Your team’s own Datadog organization |
| A kubeconfig | a file | kubectl access to your team’s namespace only |
| Your EpitaCard credentials | the provider URL, a secret key, a webhook secret and a dashboard login | Running the stack locally (your deployed stack already has them), and following your team’s payments in the EpitaCard merchant dashboard |
- you work hereYour laptopgit, kubectl, Helmoptional local stackYour tools
- you open merge requestsGitLabteam repositoryCI/CD pipelineGitLab invitation
- the pipeline deploysYour stackyour namespaceyour team hostnamekubeconfig, team ID, hostname
- the Agent shipsDatadogyour team orglogs and metricsDatadog invitation, API key
Everyone on the team gets their own invitations. The EpitaCard credentials are one set per team: keep them out of Git and never share them with another team. The kubeconfig may arrive later than the rest; the setup check skips it until you have it.
2. Accept the invitations
Section titled “2. Accept the invitations”-
GitLab. Accept the invitation, then open your team’s project. Clone it over SSH (add your key under Preferences, SSH Keys) or over HTTPS.
-
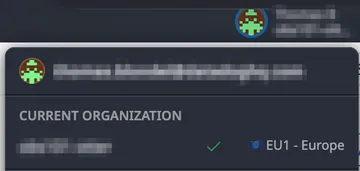
Datadog. Accept the email invitation and sign in at app.datadoghq.eu. Your organization is named after your team. Check that you land in it and not in a personal trial organization: the organization name is shown in the account menu, under your name.
-
Datadog API key. In your organization, open Organization Settings, API Keys and find the key named
student. You cannot create keys; this one is yours to use. Keep it out of Git. Click the masked value in the Key column to reveal and copy it. The other key belongs to your team’s Agent; leave it alone.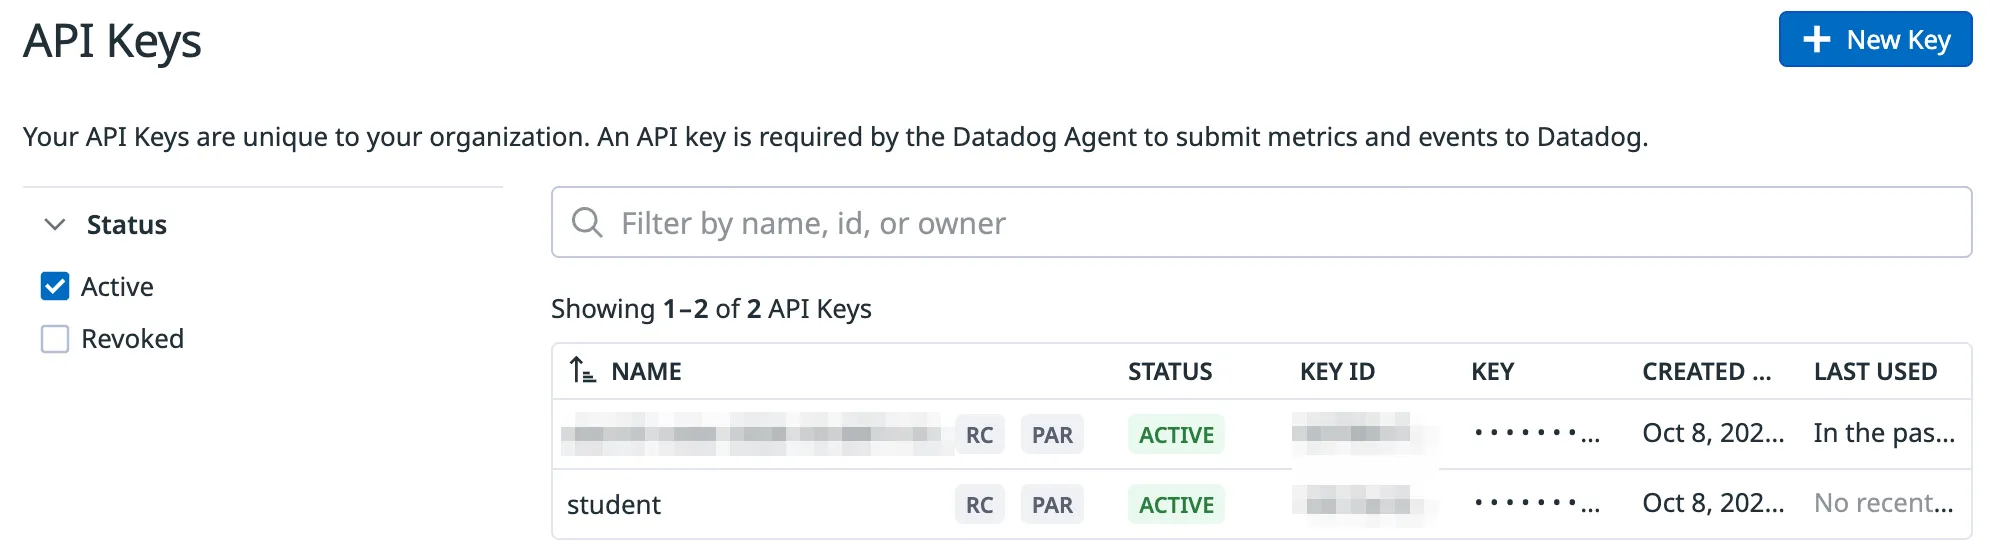
3. Install the tools
Section titled “3. Install the tools”| Tool | Version | Required | Why |
|---|---|---|---|
| Git | any recent | yes | Your team’s repository |
| curl | any | yes | Calling your stack’s API by hand |
| kubectl | 1.34 or newer | yes | Looking at your namespace (the cluster runs 1.35) |
| Helm | 3.19 or newer | yes | Rendering the charts in k8s/ locally (helm template) |
| Go | 1.25 or newer | recommended | Building the services locally from session 2 on |
| Docker with the Compose plugin | any recent | optional | Running the whole stack on your laptop to experiment |
On Linux and macOS, your package manager is fine (brew, apt, dnf,
pacman). On Windows, use WSL2 and install everything inside it.
4. Run the setup check
Section titled “4. Run the setup check”check-setup.sh sits at the root of your team’s repository. From a clone,
run it with your team ID and hostname:
TEAM=t05 TEAM_HOST=<alias>.teams.epimarket.fr \DD_API_KEY=<your org's student key> \ bash check-setup.shNot cloned yet? Download the same script
(check-setup.sh) with
curl -fsSLO https://course.epimarket.fr/check-setup.sh
and run the command above.
You get one line per check:
== ToolsPASS  git: 2.47PASS  curl: 8.7PASS  kubectl: 1.35PASS  helm: 3.19PASS  go: 1.25WARN  docker: not installed (optional)== TeamPASS  storefront: https://<alias>.teams.epimarket.fr/ answers 200SKIP  kubectl access: no kubeconfig set; use the one attached to your welcome email== AccountsPASS  GitLab: SSH key accepted by gitlab.cri.epita.frPASS  Datadog: API key valid on datadoghq.eu
Ready for session 1.PASS: done.WARN: optional, or works with a caveat. Read it, then decide.SKIP: the check could not run yet (no kubeconfig, no API key given).FAIL: fix it before session 1.
5. Look around (15 minutes)
Section titled “5. Look around (15 minutes)”You do not need to understand everything before session 1. Do read these:
- The Architecture and Your team’s deployment sections of the
repository’s
README.md. - The list of directories under
k8s/,cmd/andimages/. - Your storefront: create an account, put something in the basket, check out
with the payment method given in
README.md, and open the order.